跳转到主要内容

这是本节的多页打印视图。 .

返回本页常规视图.

快速上手

选择 Docker、二进制包或源码完成 NPS 服务端与 NPC 客户端部署

1 - Docker 部署(推荐)

使用 Docker 部署 NPS 服务端或 NPC 客户端

先拉取镜像:

docker pull yisier1/nps

启动容器,请把 <本机conf目录> 替换为实际路径(例如 /root/nps/conf):

docker run -d \
  --restart=always \
  --name nps \
  --net=host \
  -v <本机conf目录>:/conf \
  -v /etc/localtime:/etc/localtime:ro \
  yisier1/nps

先拉取镜像:

docker pull yisier1/npc

启动容器,请把 <> 内的值替换为实际配置:

docker run -d \
  --restart=always \
  --name <自定义名称> \
  --net=host \
  yisier1/npc \
  -server=<服务端IP:端口> \
  -vkey=<客户端验证密钥>

镜像主页:NPS | NPC 。

2 - 二进制安装

下载发布包并安装 NPS 服务端或 NPC 客户端

从项目发布页下载对应系统版本。服务端 (nps) 和客户端 (npc) 使用单独的压缩包。

首次启动时 nps 会在可执行文件同级目录自动生成 conf/nps.conf,并随机生成 web_password、auth_key、auth_crypt_key。Web 管理界面的登录密码请在 conf/nps.conf 或启动日志中查看。

Linux 或 macOS:

./nps -server

Windows:

nps.exe -server
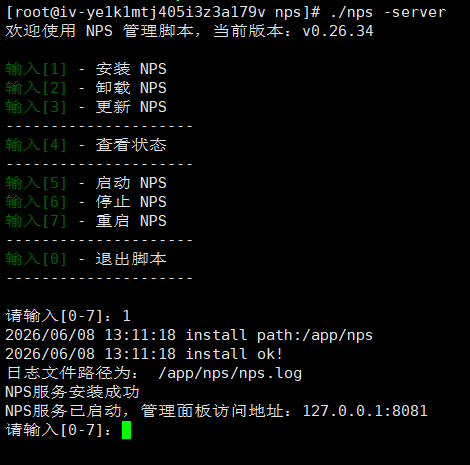
服务端管理菜单

运行目录中没有 conf/npc.conf 时,客户端无参数启动会进入交互菜单;存在该文件时会直接按配置文件运行。需要强制使用其他配置文件时传入 -config=/实际路径/npc.conf。

Linux 或 macOS:

./npc

Windows:

npc.exe
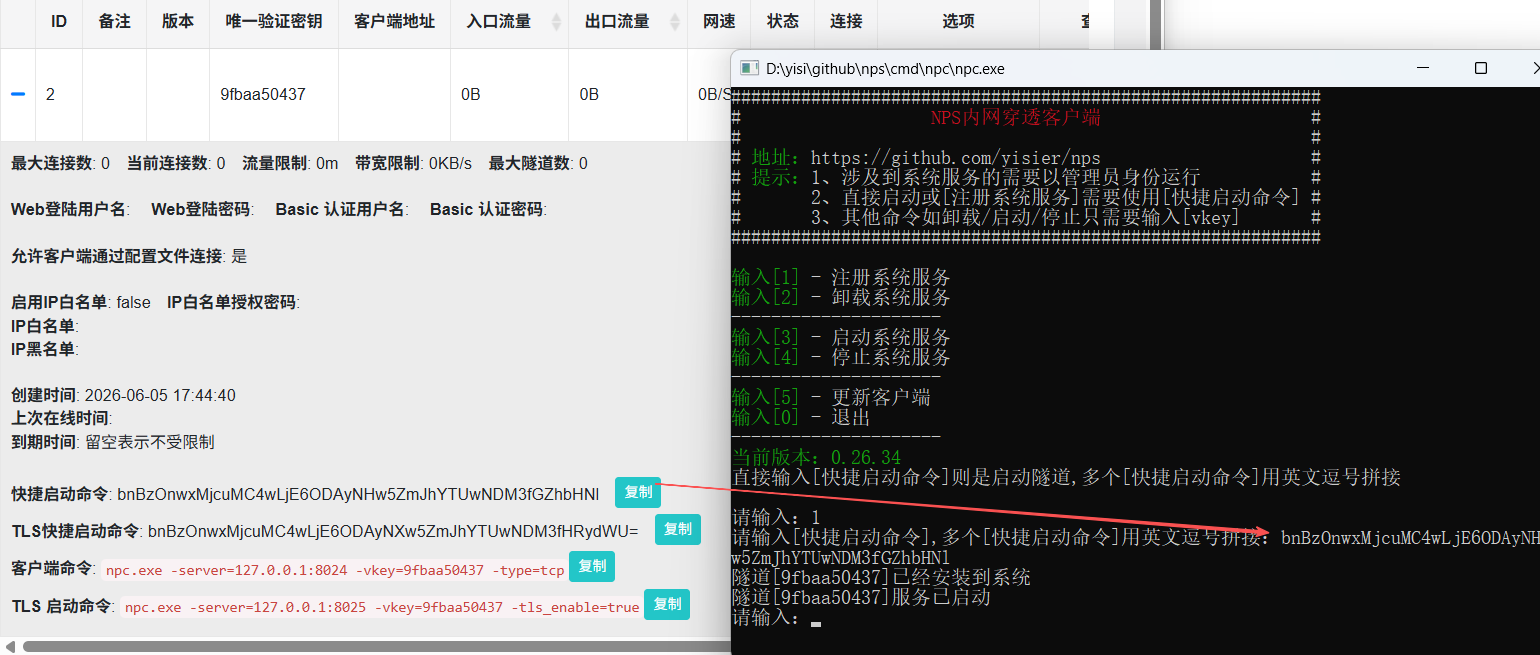
客户端管理菜单

通过 Web 管理界面的【快捷连接码】,或手动填写 -server、-vkey 等参数配置客户端。

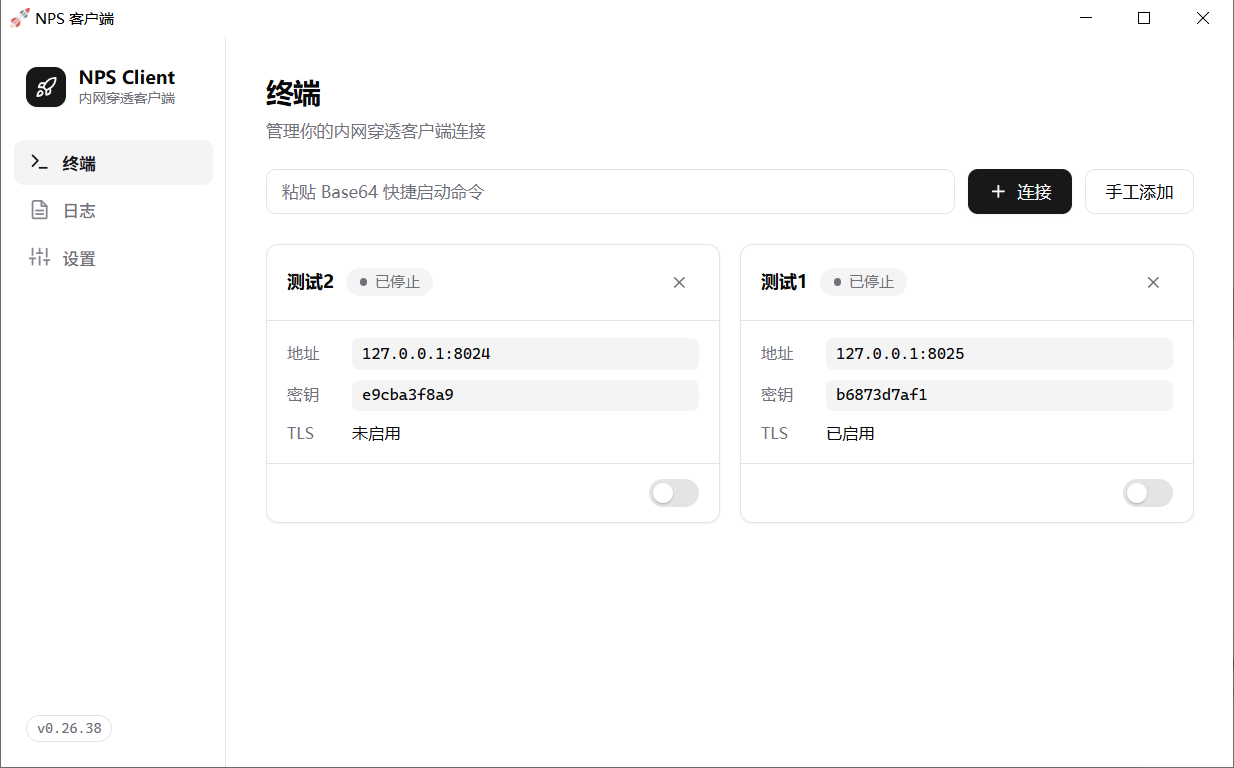
GUI 客户端

3 - 源码安装

从源码构建 NPS 服务端和 NPC 客户端

需要 Go 1.25.0 及以上,具体版本要求以仓库根目录的 go.mod 为准。

git clone https://github.com/yisier/nps.git
cd nps
go build -o nps cmd/nps/nps.go
go build -o npc cmd/npc/npc.go